Openers · Port Whitby
Garage Door Opener Diagnosis and Repair in Port Whitby
Nothing.
In plain words
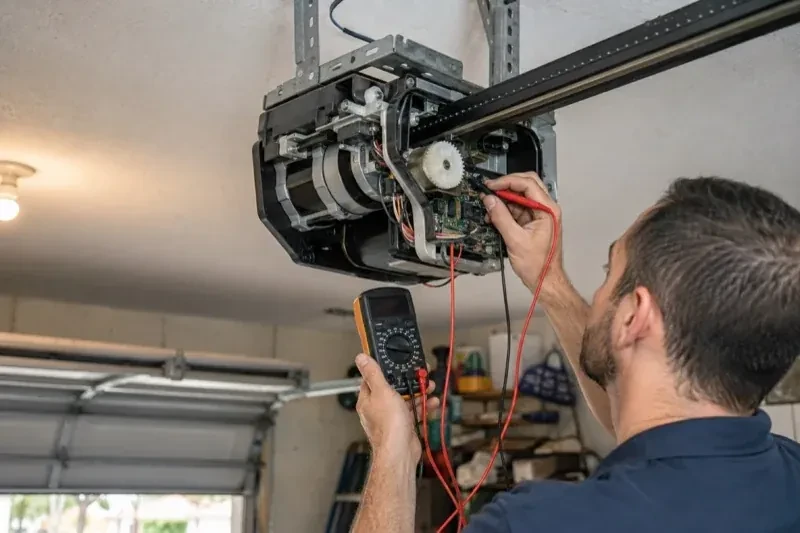
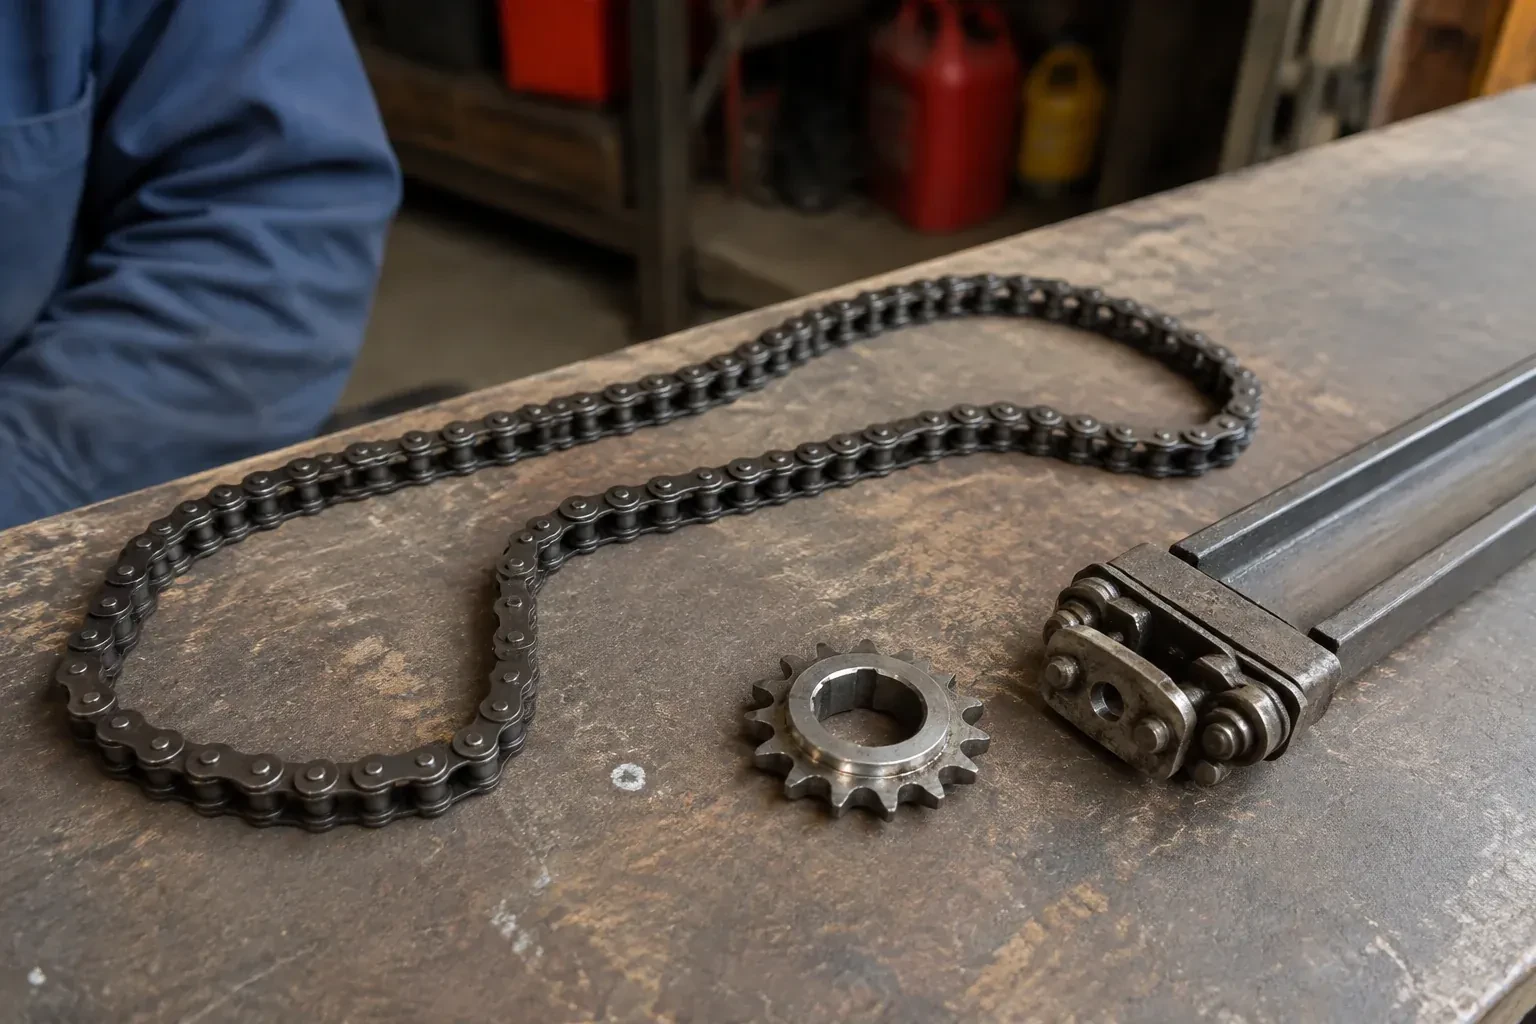
Diagnosis answers a question you cannot settle from the driveway: repair or replace? Age matters, because boards and gear kits for a twenty-five-year-old unit may no longer be made. Safety matters, because a unit with no photo eyes is one the industry recommends replacing rather than patching. The nature of the fault matters too: a capacitor or a gear kit is a routine repair, while a burnt-out motor in an old chain-drive head is usually the signal to move on. You leave with the finding, the reasoning and the choice in your hands, not a replacement sold before anyone looked.
How the visit goesThe door stops partway up for no reason, or opens fine and then refuses the next time. Some days the keypad works and some days it does not. The opener is the one that came with the house twenty-odd years ago, and nobody has the manual.
Garage Door Opener Diagnosis and Repair
How the visit goes
Limits, force and the two safety tests
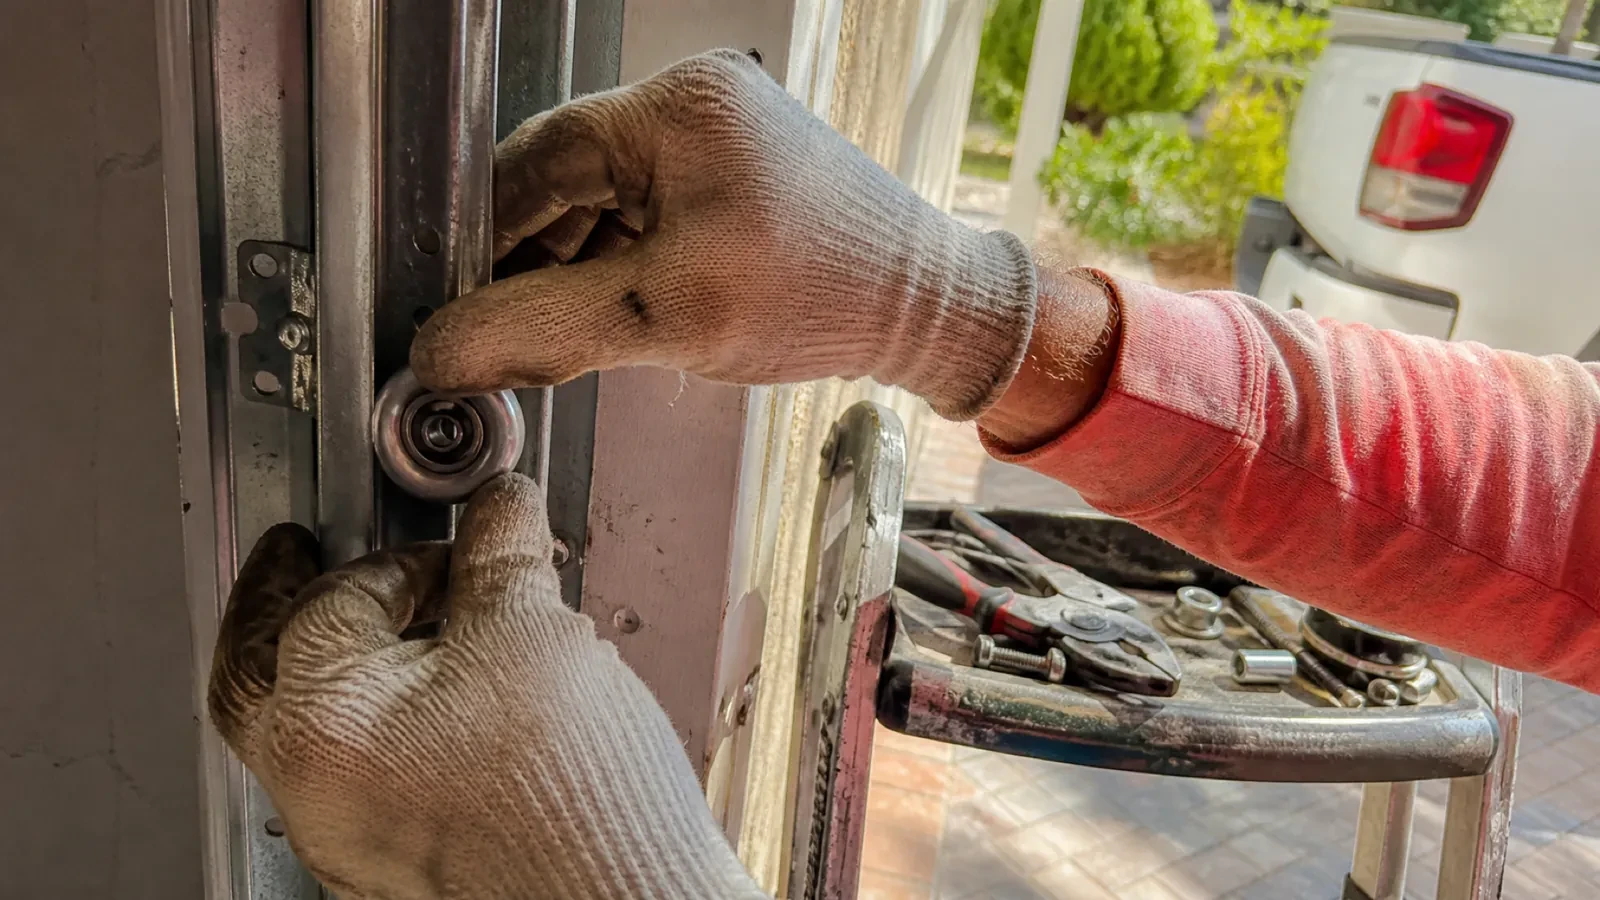
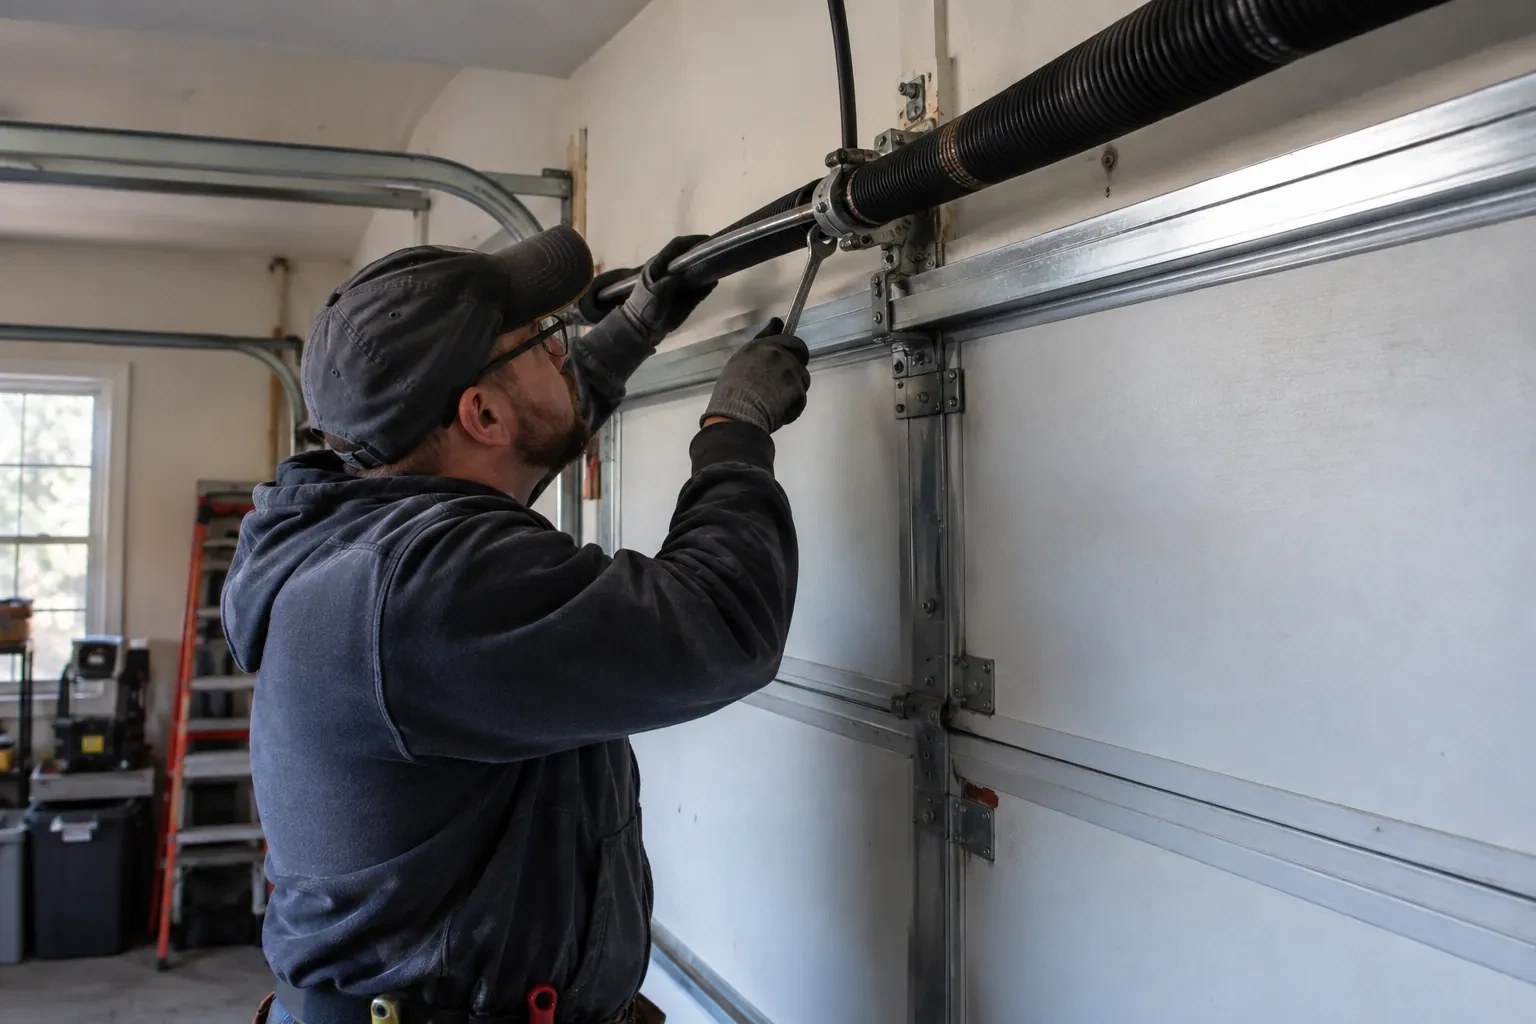
Finally the settings are checked against what the door actually does. Travel limits decide where the door stops at the top and how firmly it meets the floor; a limit set slightly long makes the door hit the slab, sense an obstruction and pop back open. Force settings decide how much resistance the opener tolerates before reversing, and these drift, or get turned up to hide a stiff door. Both are read, the door is run through full cycles, and the contact reversal test with a 2x4 and the beam-interruption test are performed. Any setting that only passes because force is cranked high is treated as a symptom.
Sensor alignment and replacement
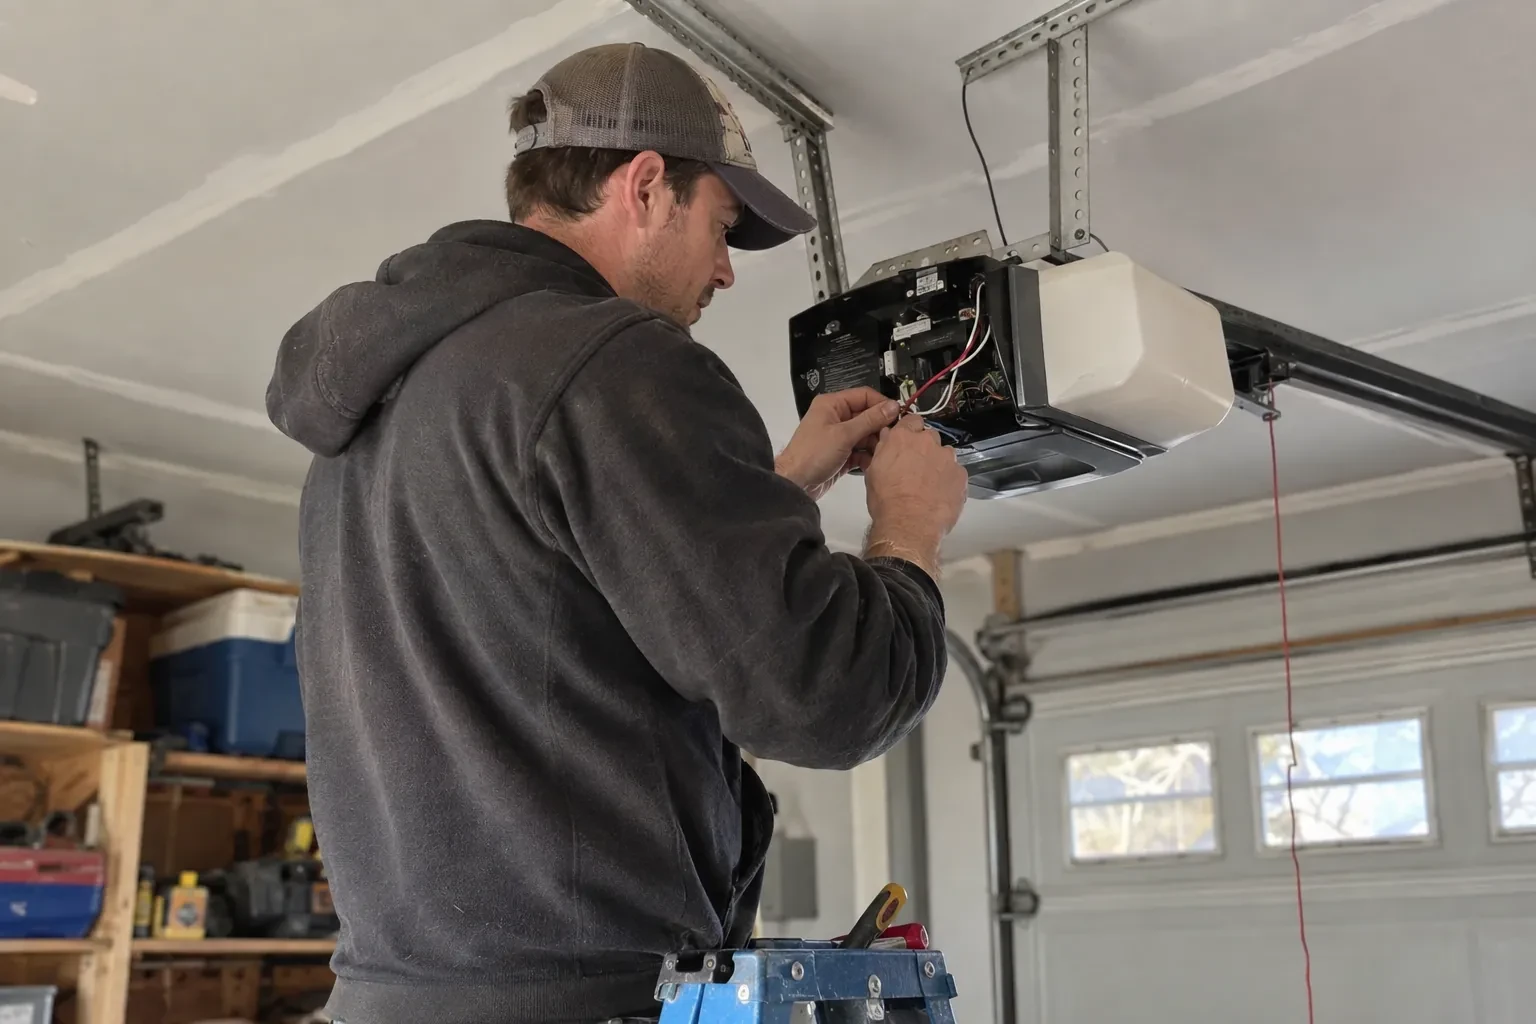
Photo eyes are brought back into service by fixing what actually broke. A bent bracket is straightened and re-secured so the two lenses face each other at the same height; dirty or frosted lenses are cleaned; a receiving eye blinded by low winter sun gets a shade, or the pair is swapped side to side. Wire that has been stapled through, chewed or pulled from its terminals is re-run with fresh bell wire, clipped clear of the track. When a sensor's electronics have failed, the pair is replaced together with units made for that opener, then the beam test is repeated to prove the circuit closes and the door reverses.
The monthly test you can do yourself
You leave knowing a short check that catches most opener trouble early. Once a month, with the door open, lay a piece of 2x4 flat on the floor under the middle of the door and press close; the door should touch it and go straight back up. Then close the door again and pass a broom handle through the sensor beam near the floor; the door should stop and reverse. Watch the sensor lights stay steady. If either test fails, stop using the opener and book a visit. These are the same tests the technician just performed, and they are all the standard asks of a working unit.
Garage Door Opener Diagnosis and Repair
In the van
Chain or belt
Remote batteries (coin and cylinder cells)
Photo-eye sensor pair
Bell wire and clips
Travel limit switch or RPM sensor
Garage Door Opener Diagnosis and Repair
What affects the quote
Whether the door needs work first
If the by-hand check shows a heavy or binding door, the balance, rollers or springs are corrected before the opener is judged, and that door-side work is quoted as its own item.
Getting in when the door is stuck shut
A garage with no side door and no house connection means working the release from outside before any test can begin, and the quote includes that entry step.
Battery backup pack
DC openers with backup power carry a battery that ages like any other. If it is at the end of its life, its replacement is listed separately from the diagnosis.
What to have ready
- Roughly how old is the opener, and is the model label readable?
- Are the lights on the opener or the wall control blinking, and in what pattern?
- Is the garage connected to the house, or does it have a side door?
Garage Door Opener Diagnosis and Repair: questions
QuestionsWhat do the blinking lights on the opener mean?
They are a diagnostic code. On openers made in roughly the past fifteen years, the head unit flashes its lights, or a pair of up and down arrows, in a counted pattern such as one flash then five. Each pattern corresponds to a fault family on the maker's chart for that model: sensor circuit obstructed or open, motor commanded but not moving, more force than allowed. The technician reads the pattern, then confirms it by hand, since one fault can imitate another.
What is the balance test, and is it something I can do?
Yes, with care. Close the door, pull the red release handle, and lift the door by hand, keeping fingers away from the panel joints. It should rise easily and stay where you leave it around waist to shoulder height. A door that drops, shoots up, or feels heavy has a spring problem and should not be run with the opener until a technician has seen it. Reconnect by running the opener or lifting until the trolley clicks in.
Can the force just be turned up so the door closes in winter?
Raising force is not the fix; it only hides one. The force setting is the opener's sense of touch, and turning it up so a door pushes through a frozen seal or stiff rollers also means it pushes harder against anything else in its path. The right approach is to free the seal, lubricate the moving parts for cold weather, confirm the balance, and then set force as low as reliably works, proving it with the 2x4 test.
Related services
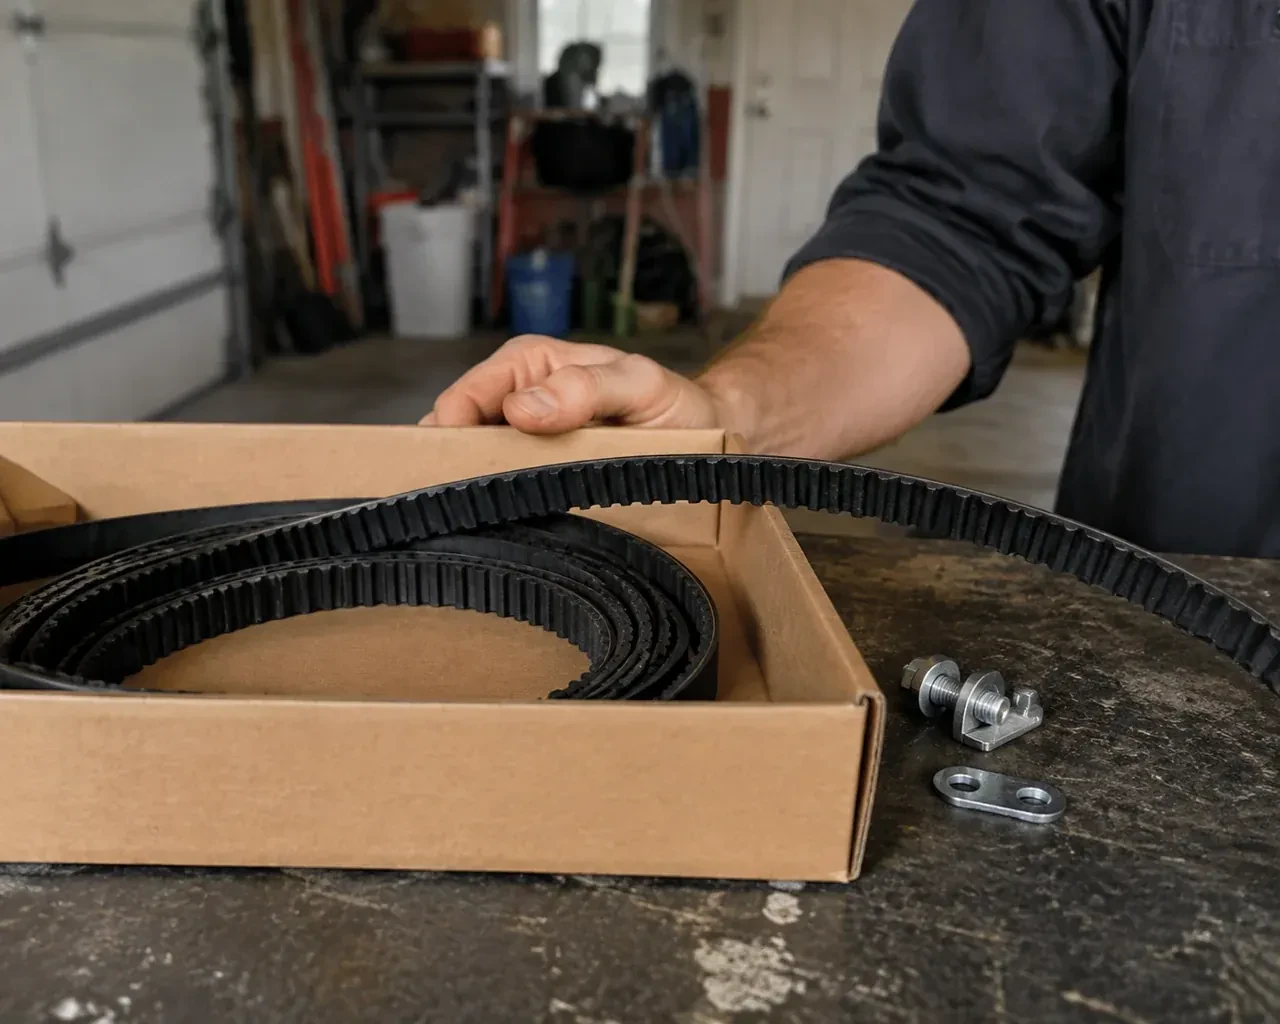
- Belt-Drive Opener RepairAfter the power came back you pulled the red cord to get the car out.
- Garage Door Opener ReplacementThe opener in the ceiling is older than the car parked under it.
- Photo-Eye Sensor Alignment or ReplacementSince shelving went up along the garage wall, the door will not close and both sensor lights are dead.