Openers · Whitby
Photo-Eye Sensor Alignment or Replacement
Since shelving went up along the garage wall, the door will not close and both sensor lights are dead.
In plain words
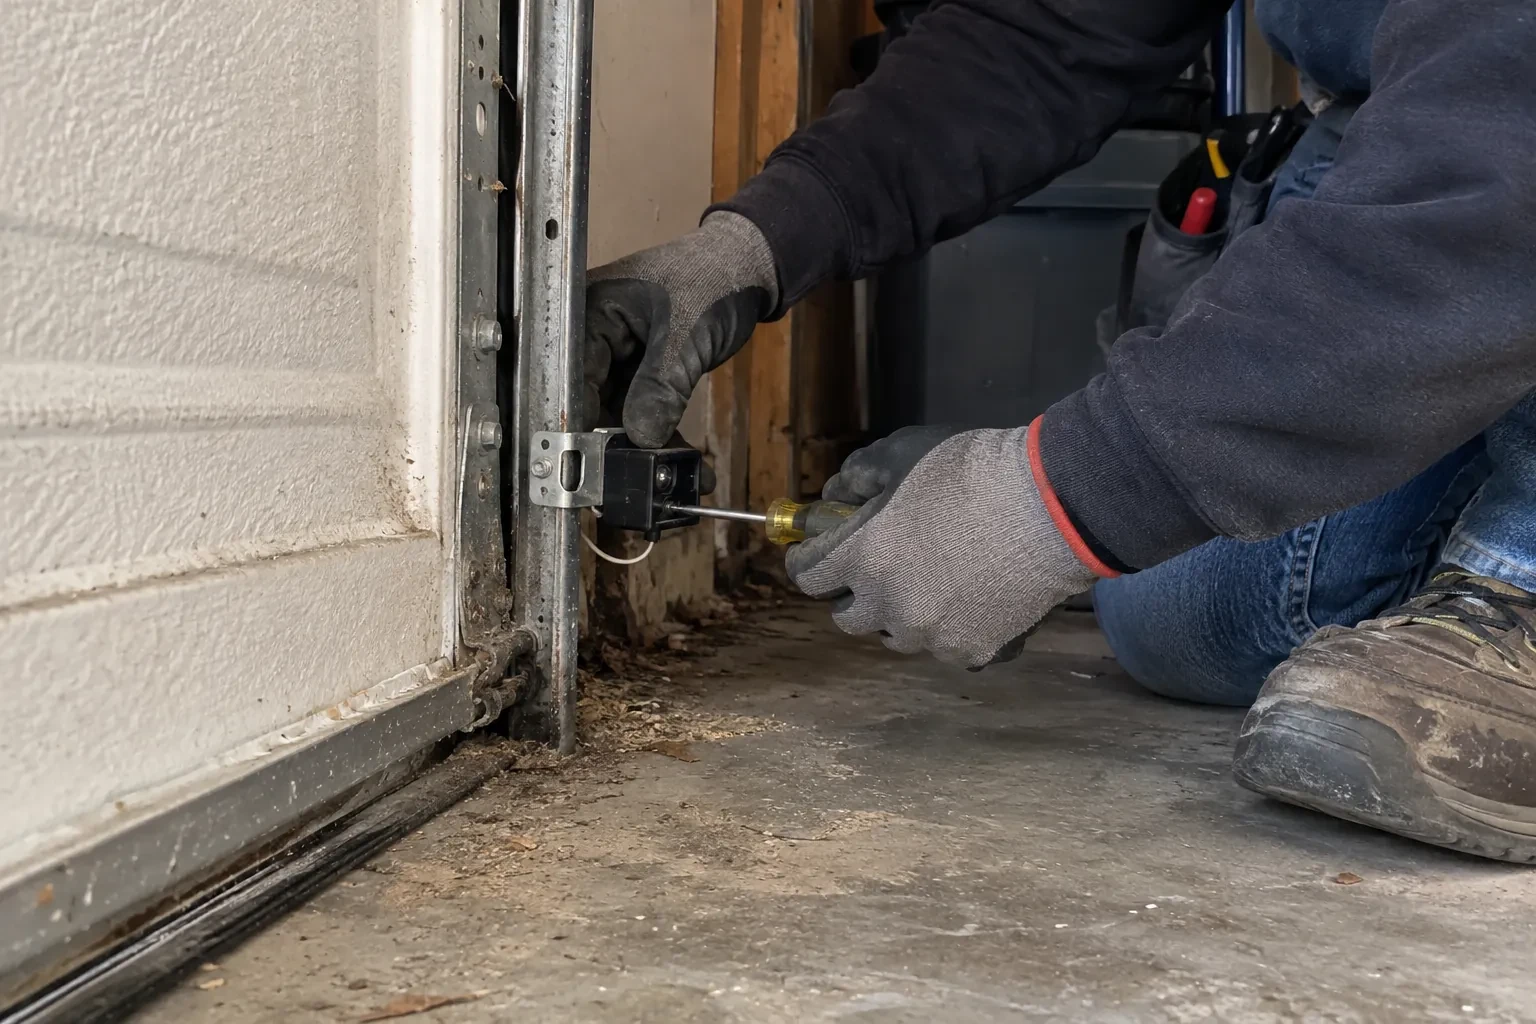
Two small sensors face each other across the doorway: one sends an infrared beam, the other receives it. While the beam lands on the receiver, the opener will close the door; the moment anything interrupts it, the door stops and returns to open. Every sensor call comes down to why the receiver has lost the beam: an object, a bent bracket, a dirty or frosted lens, sun in the receiving eye, a broken wire or a tired sensor. The technician works through those in order, fixes the one that applies, and shows you the steady indicator lights that mean the pair is talking again.
How the visit goesOn bright mornings the door will not close, then by lunchtime it behaves itself. The garage faces the low sun, and the light reaches straight across the floor to one of the little black sensors.
Photo-Eye Sensor Alignment or Replacement
How the visit goes
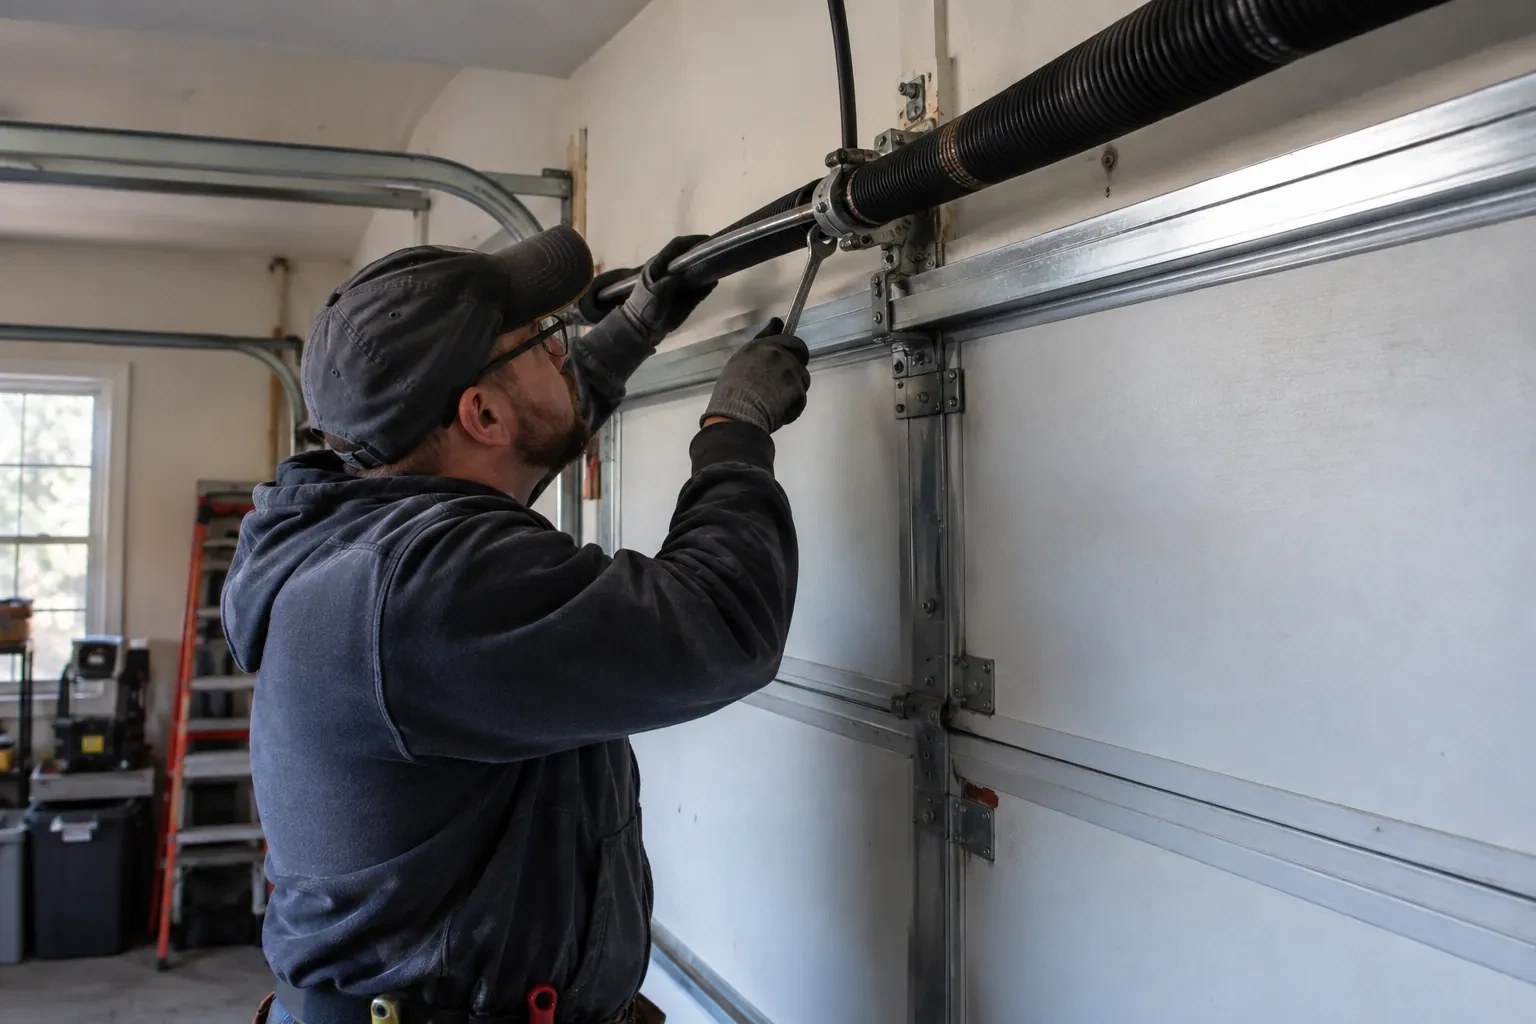
Counting the opener's flashes
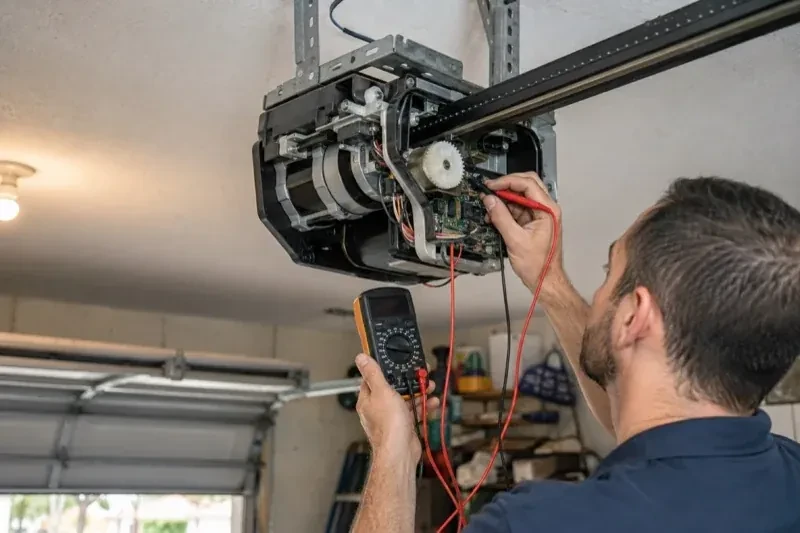
The head unit has its own way of reporting a sensor problem. Many openers flash the light bulb a fixed number of times when close is pressed and the beam is not satisfied, and newer units blink a code on their up and down arrows that separates a blocked or misaligned beam from a cut wire, a disconnected pair or reversed wiring. The technician reads the model off the label, counts the pattern and matches it to the maker's chart. This is what keeps the visit efficient: a code that says the circuit is open sends the work to the wiring, while a code that says obstructed or misaligned sends it to the brackets.
Proving it with the two tests
No sensor job is finished on a steady light alone. The door is closed from the wall control and from a remote, and while it is on its way down an object is passed through the beam; the door must stop and return to fully open. Then a 2x4 is laid flat on the floor under the centre of the door and the door is closed onto it; it must reverse on contact. Both are repeated, the opener's diagnostic light is confirmed clear, and any app or hub reporting a sensor code is refreshed. The customer watches the tests so the normal behaviour is seen, not described.
Wiring that stays put
The wire between the head unit and the sensors has been secured along the ceiling and walls, clipped clear of the track and, where it was exposed, run inside a protective channel. Two things keep it that way. First, when anything is fastened to those walls or that ceiling, from shelving to a bike hook to drywall, look for the thin wire before driving a screw or a staple. Second, if mice have been in the garage, a chewed wire is a common sign, so a dark sensor light after a sighting is worth a look at the run. Either way, the sensor lights will tell you the moment the circuit is open.
Photo-Eye Sensor Alignment or Replacement
In the van
Track-mount sensor brackets
Wing nuts and carriage bolts
Matched photo-eye sensor pair
Two-conductor low-voltage wire
Insulated wire staples
Photo-Eye Sensor Alignment or Replacement
What affects the quote
Alignment or replacement
Cleaning, re-aiming and refastening the existing pair is the smaller job. Fitting a new matched sending and receiving pair is the larger one, and the diagnosis at the door decides which applies before the quote is settled.
Winter conditions on the day
Snow and ice packed against the brackets, a frozen bottom seal or a frozen floor where anchors must go all add a little clearing and care before the sensor work itself can start.
Number of doors
Each opener has its own sensor pair and wire run, so a double garage with two doors is two sets of checks, two possible pairs and two rounds of testing, quoted per door.
What to have ready
- Does it happen at all hours, or mainly on bright mornings or late afternoons?
- Are there sensors at the floor on both sides, or are they missing or mounted up beside the motor?
- What make and model is on the opener's label, and roughly how old is it?
Photo-Eye Sensor Alignment or Replacement: questions
QuestionsCan the sensors be mounted on the wall instead of the track?
Track-mounted clips are the preferred, manufacturer-recommended arrangement. A wall-mounted angle bracket is the next choice where the track sits far back from the opening or the clip keeps getting bumped; mounting to the concrete floor is kept as a last resort, used only when the sensor's own instructions allow it. The same rules apply: both sensors at a matched height no higher than about 15 cm, level, facing each other, with the wire secured. Wall mounting sometimes gives a cleaner beam line on older doors with unusual track layouts.
Do sensors wear out with age?
They do, slowly. The infrared emitter and the receiver dim over many years, lenses craze or cloud from sun and salt, housings crack, and water finds its way in at floor level. A pair that needs re-aligning more and more often, or whose light drifts between steady and flickering with nothing touched, is usually ageing. Because pairs are matched to the opener, an older opener is worth identifying early so the right replacement is on hand.
The door closes if I hold the wall button. Is that a fix?
It is a built-in stopgap, not a repair. When the sensor circuit is not satisfied, many openers allow a close from the wall control only while the button is held, on the idea that a person standing there can see the doorway. Newer units drop that behaviour altogether and simply hold the door open. Either way the door is telling you the beam has failed, and a sensor visit puts remote closing back.